Selecting and customizing your first WordPress theme is one of the steps in building your website. This guide will walk you through the process, ensuring you make an informed decision and customize your theme to fit your needs perfectly.
Step 1: Define Your Website’s Purpose and Needs
Identify the Purpose: Determine what your website is for (e.g., blog, portfolio, e-commerce, business).
List Features: Make a list of necessary features like social media integration, contact forms, or WooCommerce support.
Consider Your Audience: Think about your target audience and what design would appeal to them.
Step 2: Explore WordPress Theme Directories and Marketplaces
Official WordPress Theme Directory: Start with the free themes available in the WordPress.org theme directory. These themes are thoroughly tested and reviewed.
Premium Theme Marketplaces: Explore premium themes on marketplaces like ThemeForest or Elegant Themes if you have specific needs or want more sophisticated designs.
Step 3: Evaluate Themes Based on Key Criteria
Responsive Design: Ensure the theme looks good on desktops, tablets, and mobile phones.
Loading Speed: Check theme demos with tools like Google PageSpeed Insights to ensure they load quickly.
Customization Options: Look for themes that offer easy customization options without requiring you to code.
SEO Friendliness: Choose a theme that is optimized for search engines.
Reviews and Ratings: Read user reviews and check ratings to gauge the theme’s quality and support.
Step 4: Install and Activate Your Chosen Theme
From WordPress Dashboard: Go to Appearance > Themes > Add New. You can search for a theme by name or use filters. Once found, click "Install" and then "Activate".

Upload a Theme: If you've purchased a theme, download the .zip file from the marketplace, then go to Appearance > Themes > Add New > Upload Theme. Choose your file and click "Install Now", then "Activate".

Step 5: Customize Your Theme
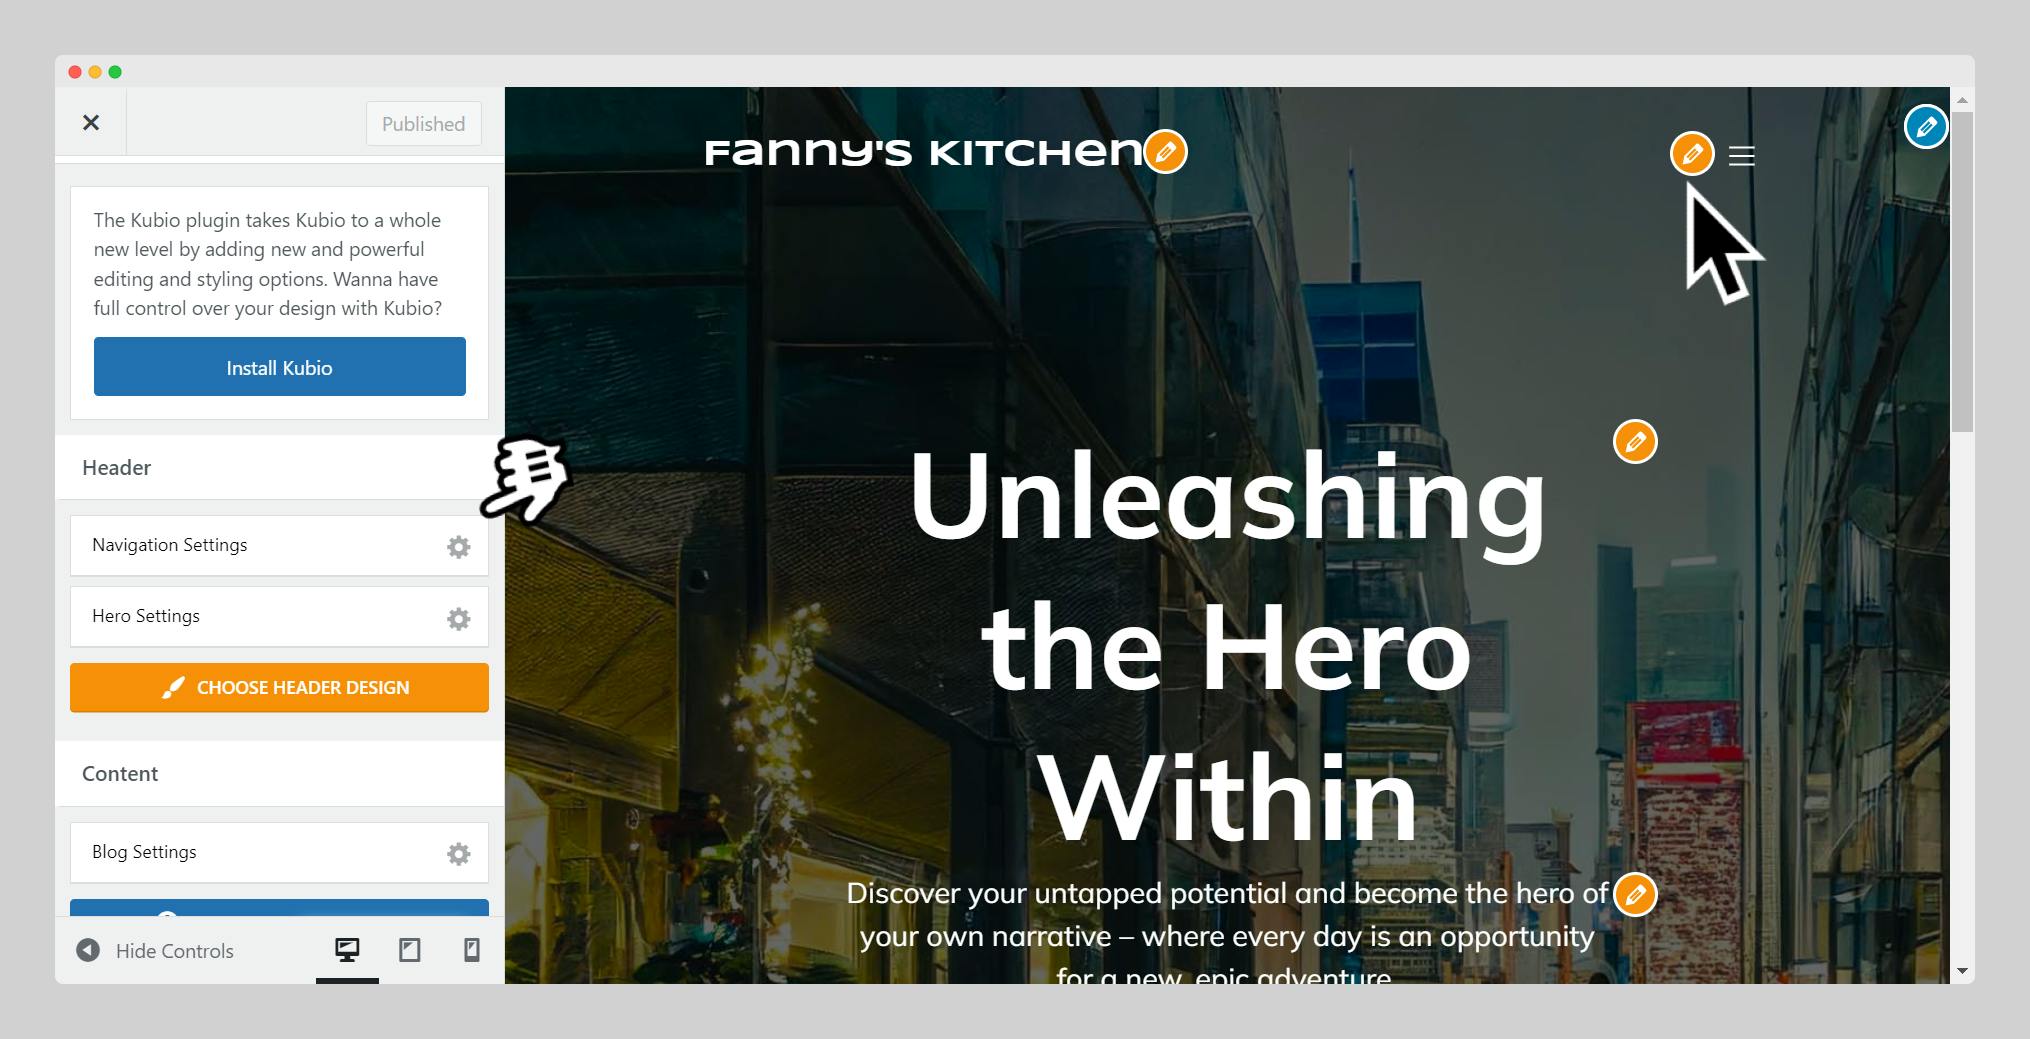
Access Customizer: Go to Appearance > Customize to open the WordPress Customizer. This tool shows a live preview of your changes.

Site Identity: Update your site title, tagline, and logo.
Colors and Fonts: Adjust the theme’s color scheme and fonts to match your brand.
Layout Settings: Configure your site layout, including header, footer, and sidebar positions.
Homepage Settings: Choose what appears on your homepage—a static page or your latest posts.

Widgets: Add widgets to your theme’s designated widget areas for added functionality.
Menus: Create and assign menus to the theme’s menu locations for your site’s navigation.
Step 6: Test Your Site
Cross-Browser Compatibility: Check how your site looks on different browsers (Chrome, Firefox, and Safari).
Mobile Responsiveness: Use the mobile view in the Customizer to ensure your site looks good on mobile devices.

Load Time: Re-evaluate your site’s loading speed to ensure it’s still fast after customization.
Step 7: Launch Your Website
Review Everything: Double-check all content, links, and functionality.
SEO and Analytics: Install SEO plugins like Yoast SEO and set up Google Analytics to track your site’s performance.
Backup Your Site: Before going live, set up a backup solution to protect your site.
Step 8: Keep Your Theme Updated
Regularly check for theme updates to ensure compatibility with the latest version of WordPress and to receive new features and security updates.
Remember to always experiment with the Customizer’s settings to find the perfect look for your site, and don’t hesitate to use child themes if you’re making extensive customizations.
