Table of contents
- Logging In: Accessing Your WordPress Dashboard
- Welcome to the Dashboard: A Visual Tour
- Demystifying the Sidebar Menu: Exploring Key Sections
- Enhancing the Visual Appeal: Exploring the "Appearance" Section
- Adding Features with Plugins: Exploring the "Plugins" Section
- User Management: The "Users" Section
- Essential Tools: The "Tools" Section
- Fine-Tuning Your Website: The "Settings" Section
- Customizing Your Dashboard Experience
- Learning Resources for Further Exploration:
Congratulations on taking the first step towards building your online presence with WordPress!
The intuitive interface and user-friendly features make it a popular choice for beginners and seasoned website owners alike.
But before unleashing your creative spark, it's crucial to navigate the command center – the WordPress Dashboard.
Logging In: Accessing Your WordPress Dashboard
Unique Login Address
Every WordPress website has a unique login address. Typically, this follows the format [yourdomain.com]/wp-admin. However, it's recommended to consult your web hosting provider for the exact URL if there are any customizations.
Login Credentials
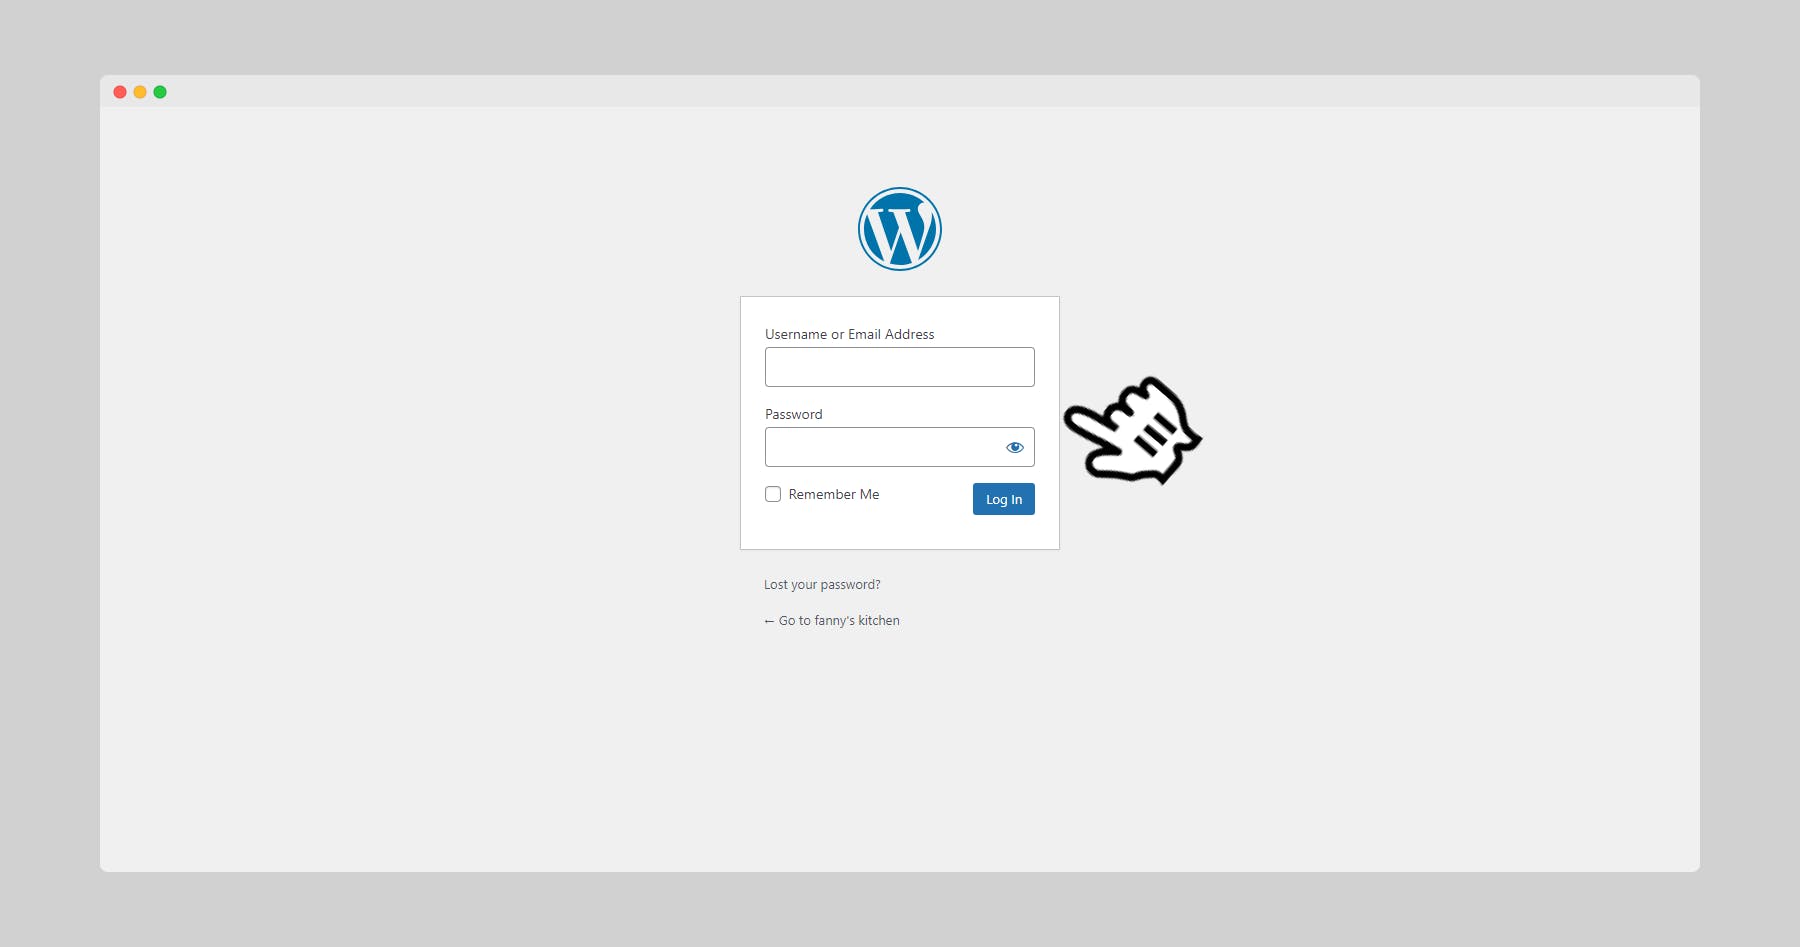
Upon reaching the login page, you'll be prompted to enter your username and password.
These credentials are created during the initial WordPress installation process. Store them safely or If you are unsure about these details, contact your web hosting provider for assistance.
Welcome to the Dashboard: A Visual Tour
Upon successful login, you'll be greeted by the WordPress Dashboard – your central hub for website management. Here's a breakdown of the key elements:

Sidebar
This vertical menu on the left-hand side serves as the primary navigation panel.
It provides access to all the crucial sections for managing your website's content, design, functionality, and settings.
Toolbar
Located at the top of the screen, the toolbar offers quick access to frequently used actions like adding new posts, pages, and media.
Content Area
The central area of the Dashboard displays information and options relevant to the section you're currently viewing in the sidebar menu.
Demystifying the Sidebar Menu: Exploring Key Sections
The sidebar menu acts as the roadmap for navigating the various functionalities within your WordPress website.
Let's dive deeper into some of the core sections:
Posts
The "posts" section is the heart of your website's dynamic content. It's where you create blog entries, news articles, or any content that is regularly updated.
You can add text, images, videos, and other multimedia elements to enrich your posts.
Adding a New Post:
Click on "Posts" -> "Add New." This opens an editor where you can craft your post's title, content, and other details like categories and tags (for organization).
Managing Existing Posts: The "Posts" section also displays a list of your previously published posts. You can edit, preview, schedule, or delete them from this list.

Pages
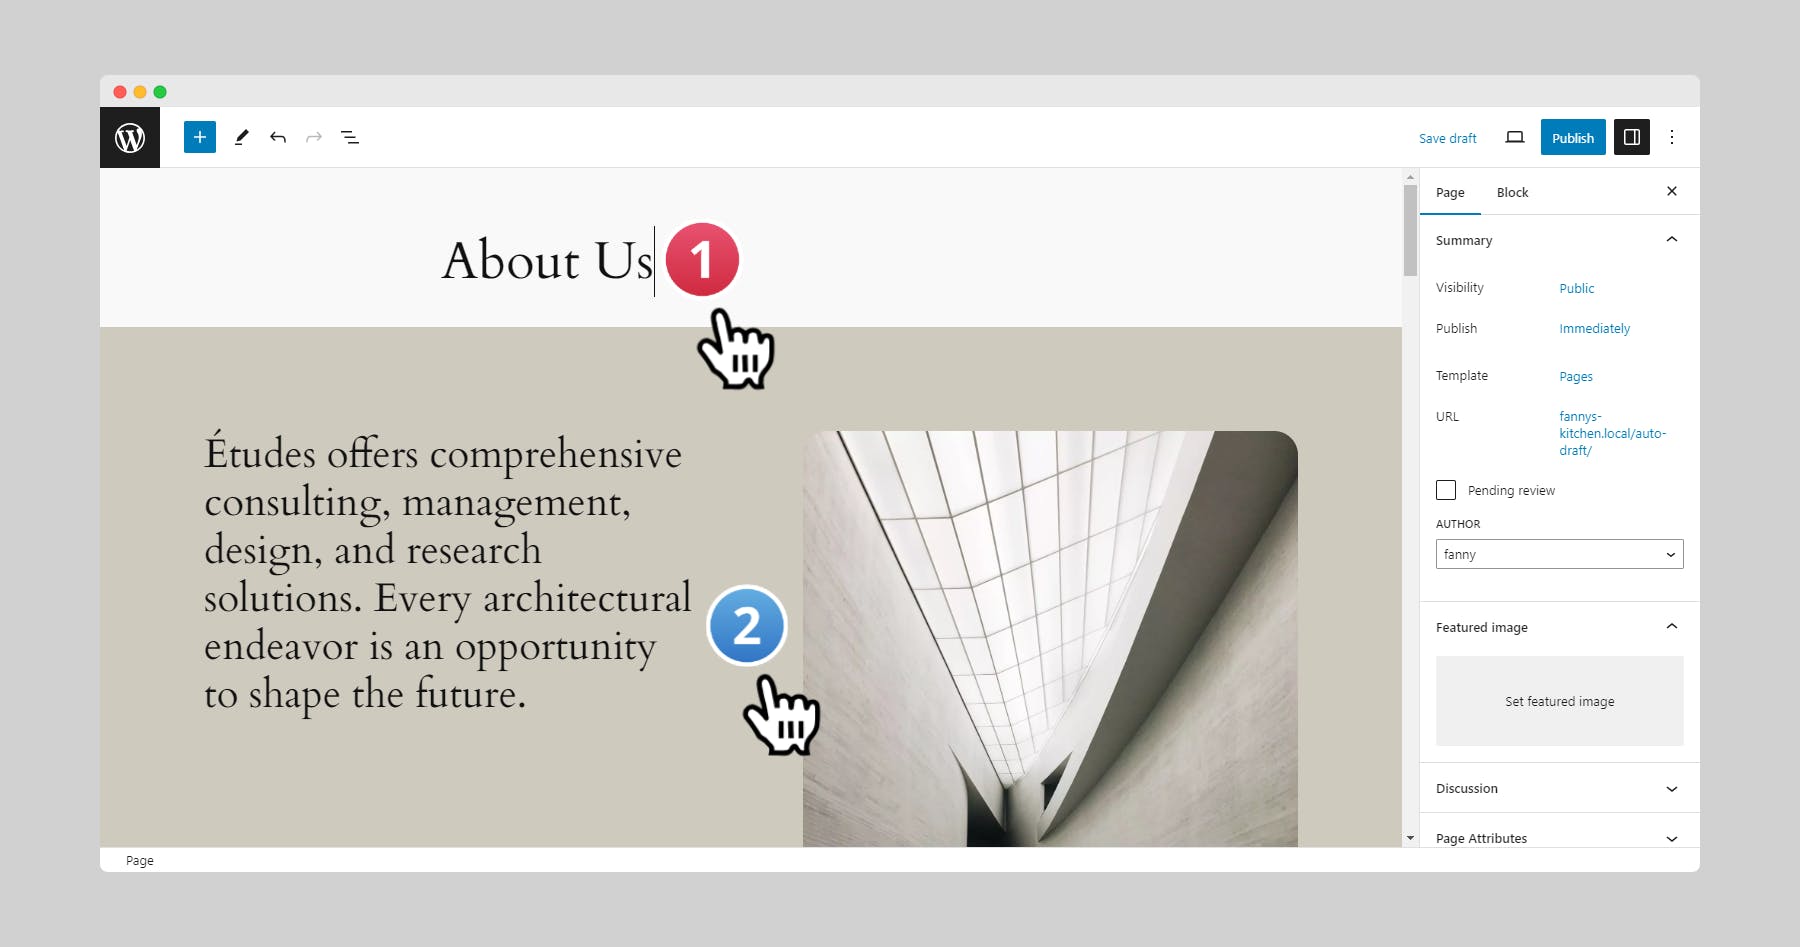
Unlike posts, pages are intended for static content that remains relatively unchanged, such as "About Us," "Contact," or "Services" pages.
Creating a New Page:
Similar to posts, navigate to "Pages" -> "Add New" to create a new page.

You can add content using the editor and customize elements like the page title and URL slug (the address for the page) and click Publish.
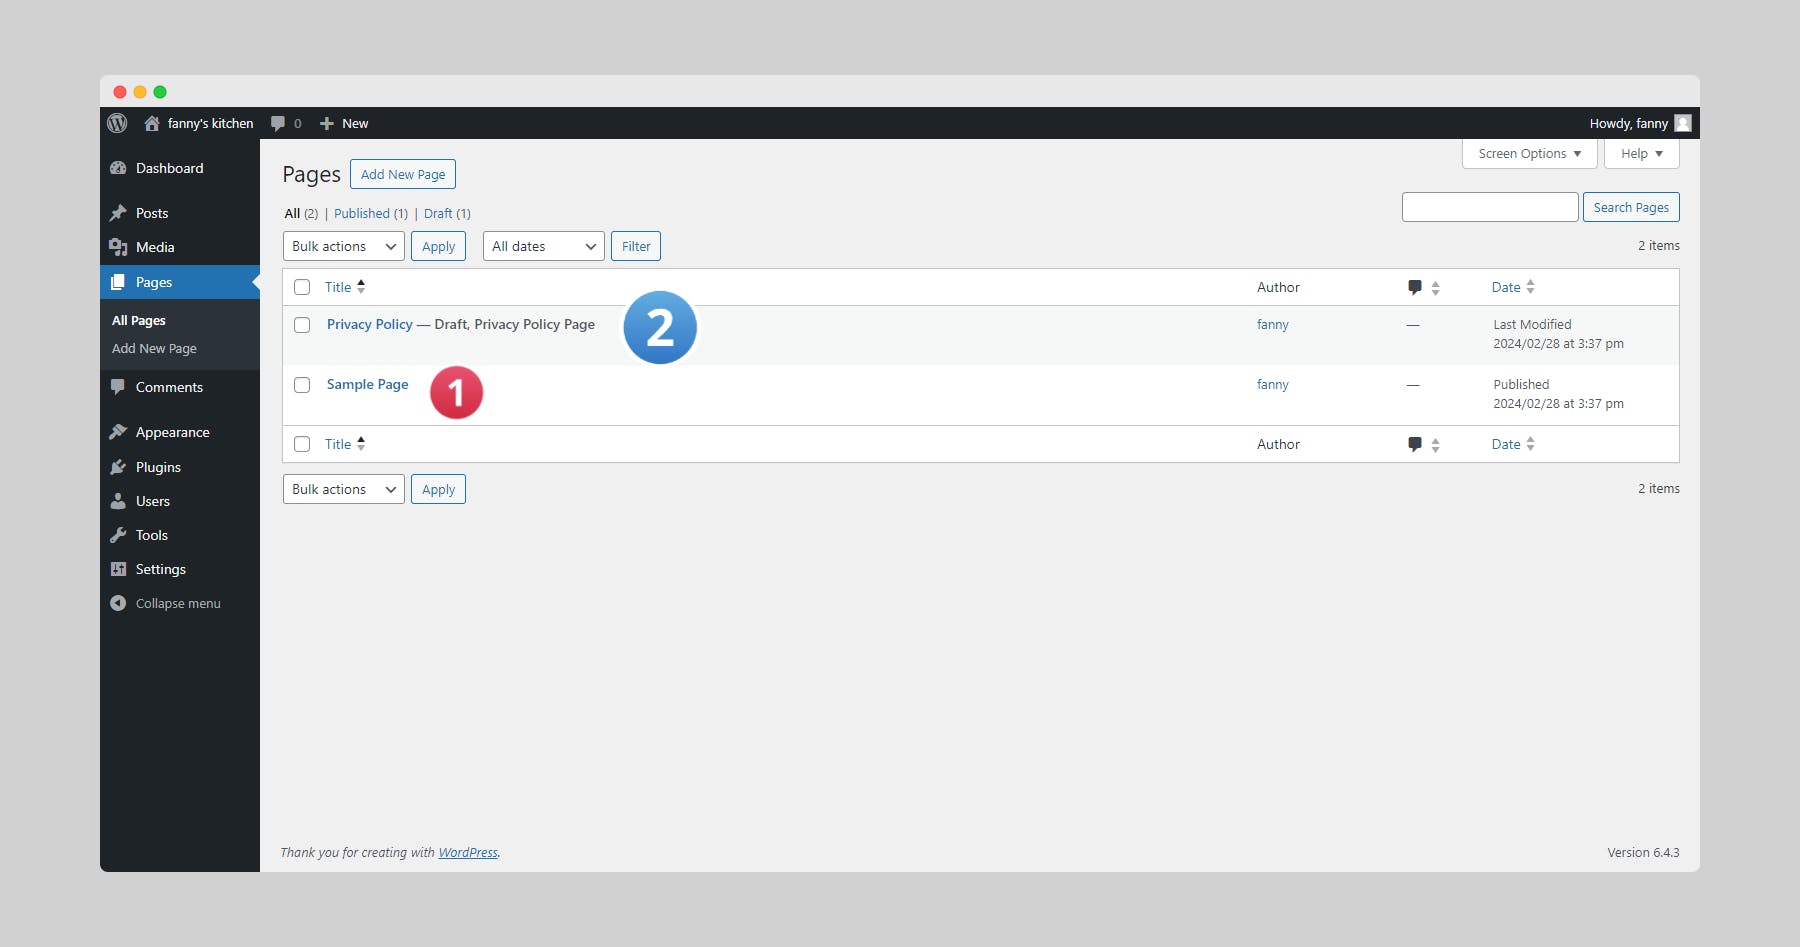
Managing Existing Pages:
The "Pages" section provides an overview of your created pages. You can edit their content, change their order, or even delete them if necessary.
Media
This section serves as your website's media library. It's where you upload and manage all the images, videos, audio files, and documents used on your website.
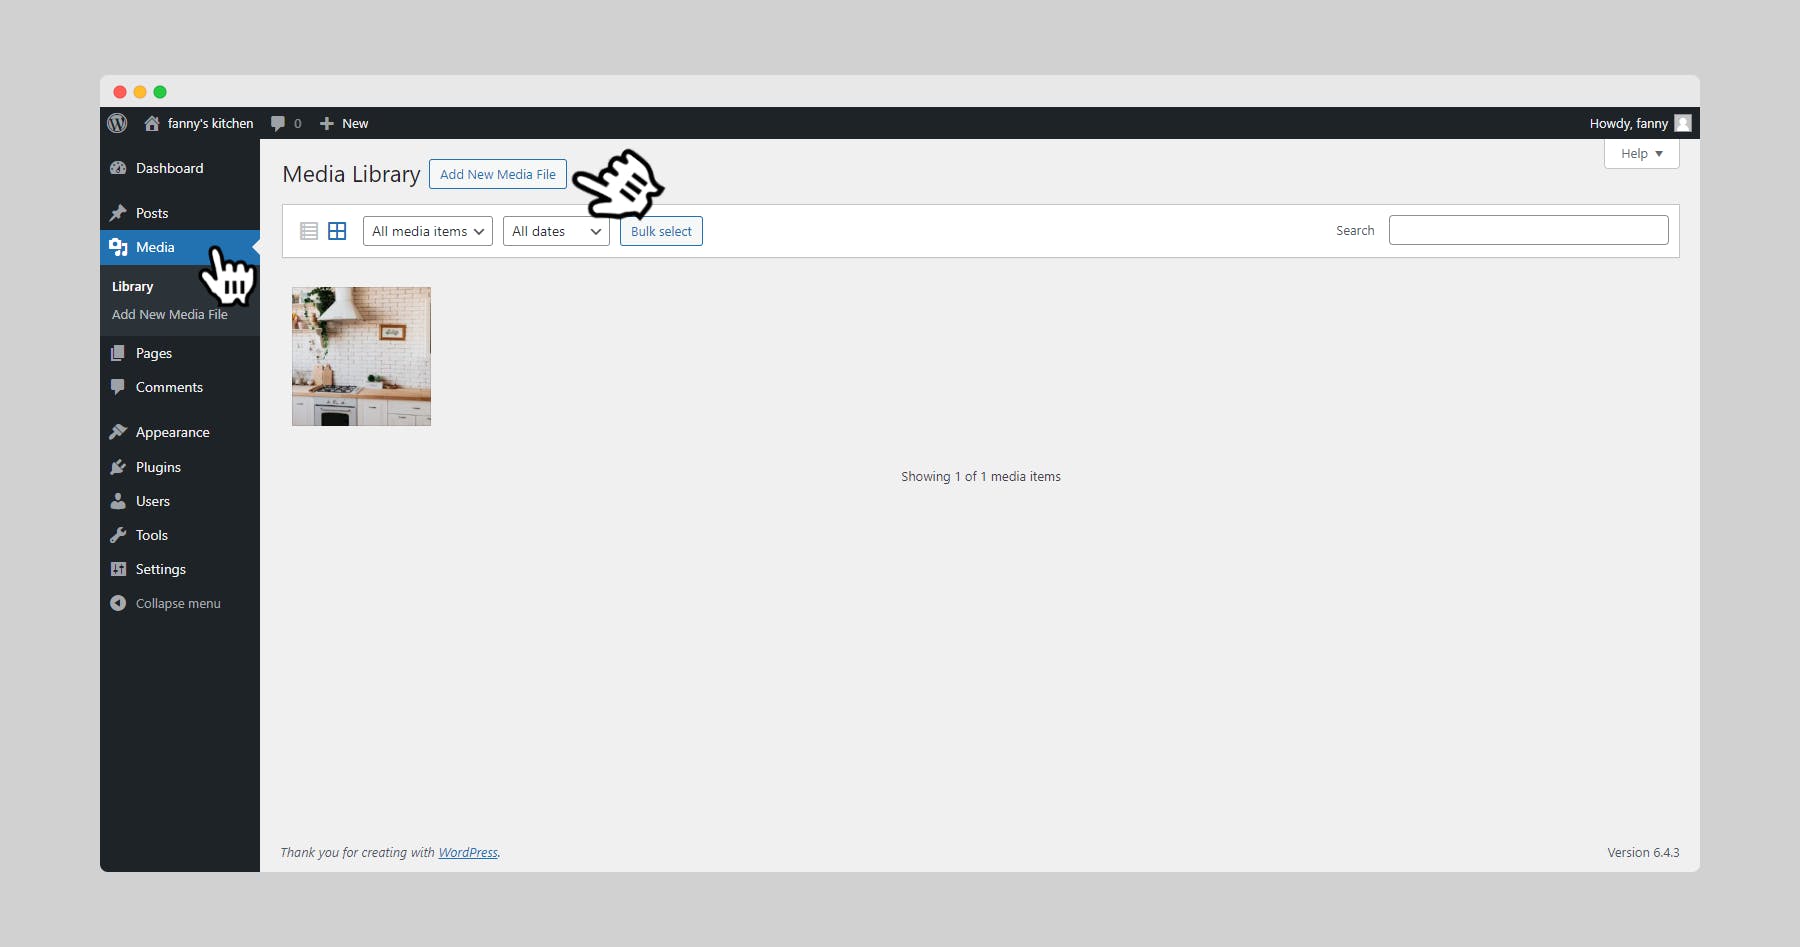
Uploading Media
Click on "Media" -> "Add New" to upload files from your computer. You can also drag and drop files directly into the media library.
Managing Existing Media
The "Media" section displays a list of all your uploaded media files. You can edit their titles, and descriptions, and insert them into your posts and pages using the "Insert Media" button.
Comments
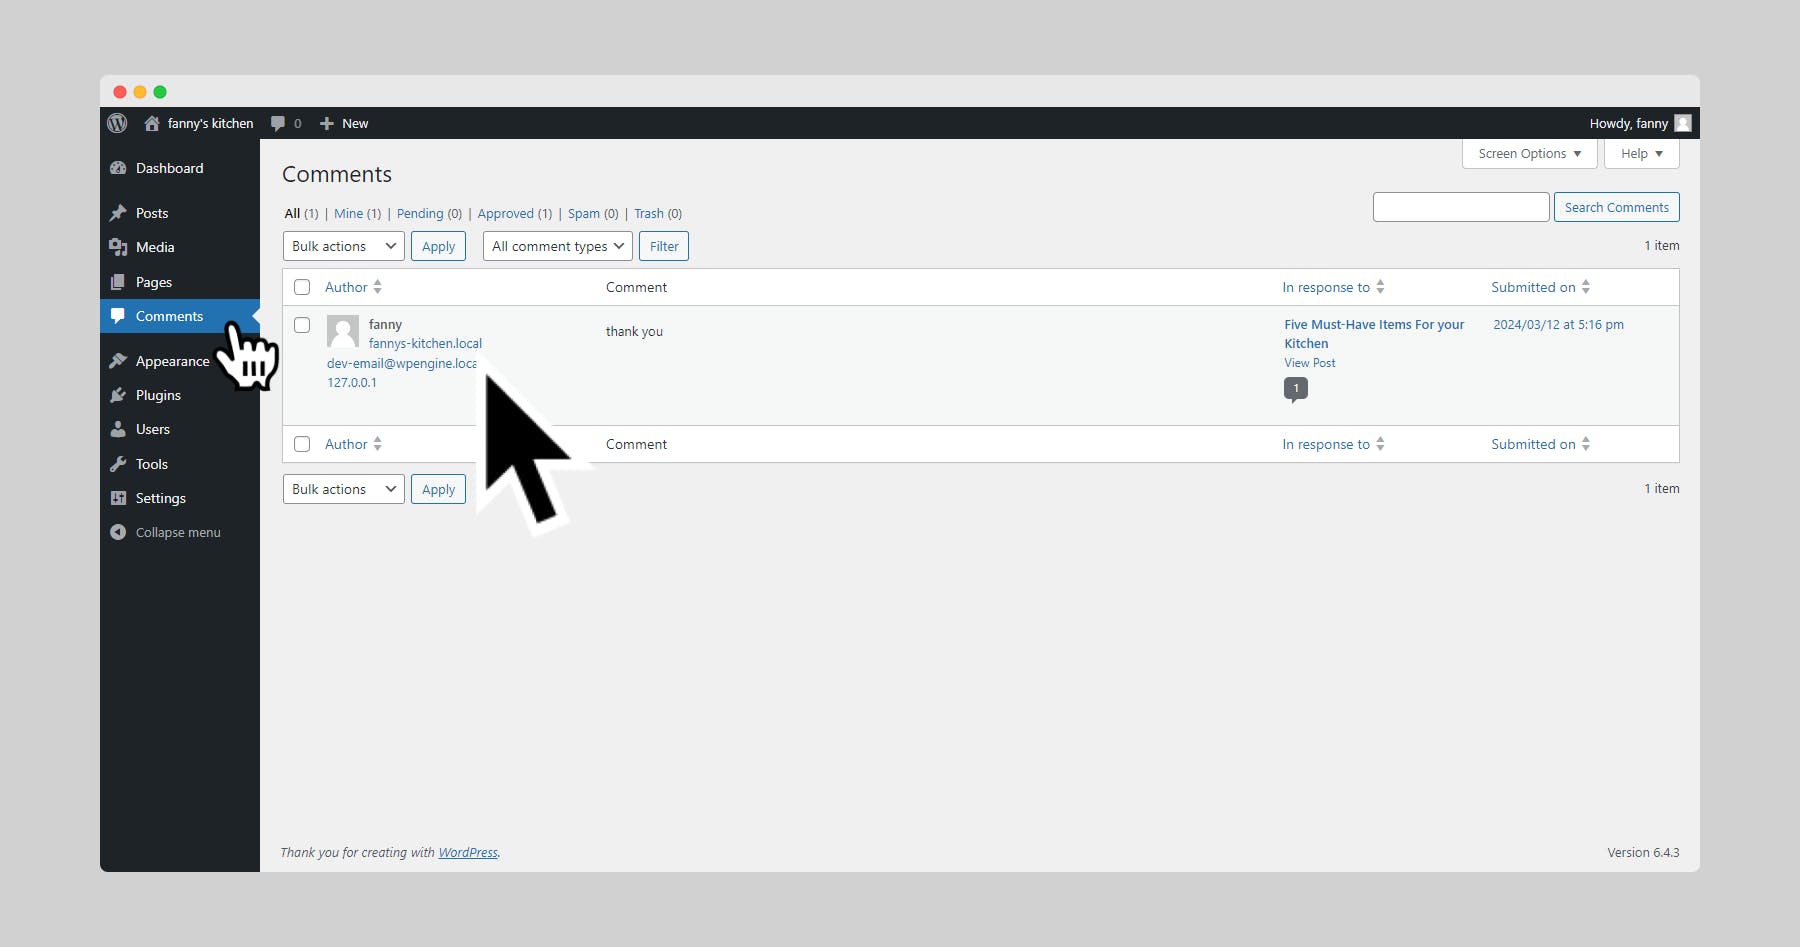
This section allows you to moderate comments left by visitors on your website. You can approve, reply to, edit, or mark comments as spam.
Moderating Comments:
Navigate to "Comments" to view a list of all comments. You can review them individually and take appropriate action.
Enhancing the Visual Appeal: Exploring the "Appearance" Section
The "Appearance" section empowers you to control the look and feel of your website:
Themes
A theme acts as the website's design template. WordPress offers a vast collection of free and premium themes that cater to various styles and functionalities.
Installing a New Theme
Click on "Appearance" -> "Themes" and browse the available themes. You can preview them and install the one that best suits your website's purpose.

Customizing a Theme
Most themes offer customization options like changing colors, fonts, and layouts. You can explore these options within the "Appearance" section.
Adding Features with Plugins: Exploring the "Plugins" Section
Plugins extend the functionality of your WordPress website. Think of them as mini-programs that add specific features and functionalities.
Discovering Plugins
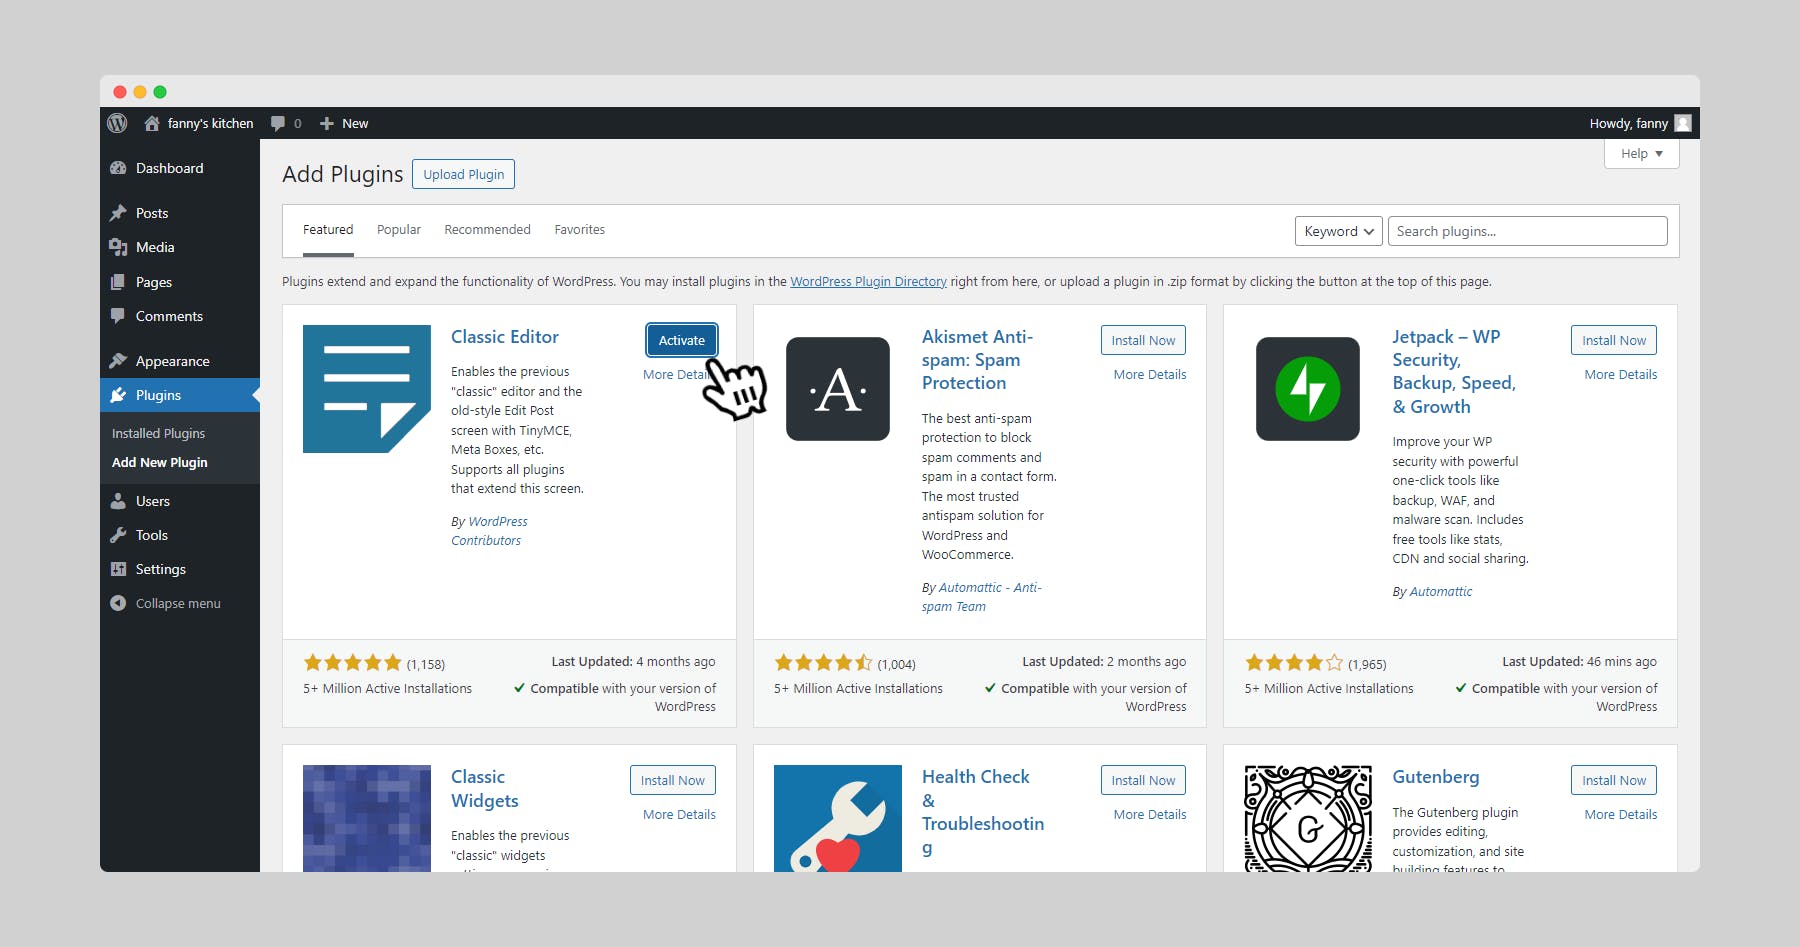
Navigate to "Plugins" -> "Add New" to browse the WordPress plugin directory. You can search for plugins by keyword or browse popular categories.

Installing a Plugin
Once you've found a suitable plugin, click on "Install Now" and then activate it.
Managing Plugins
The "Plugins" section displays a list of all your installed plugins. You can deactivate, update, or delete plugins from this list.

User Management: The "Users" Section
This section is crucial if you plan to have multiple people contributing to your website:
Adding New Users
Click on "Users" -> "Add New" to create additional user accounts. You can assign different access levels (administrator, editor, author, etc.) to each user, controlling their permissions within the website.

Managing Existing Users
The "Users" section provides an overview of all user accounts. You can edit their profiles, change their access levels, or even delete them.

Essential Tools: The "Tools" Section
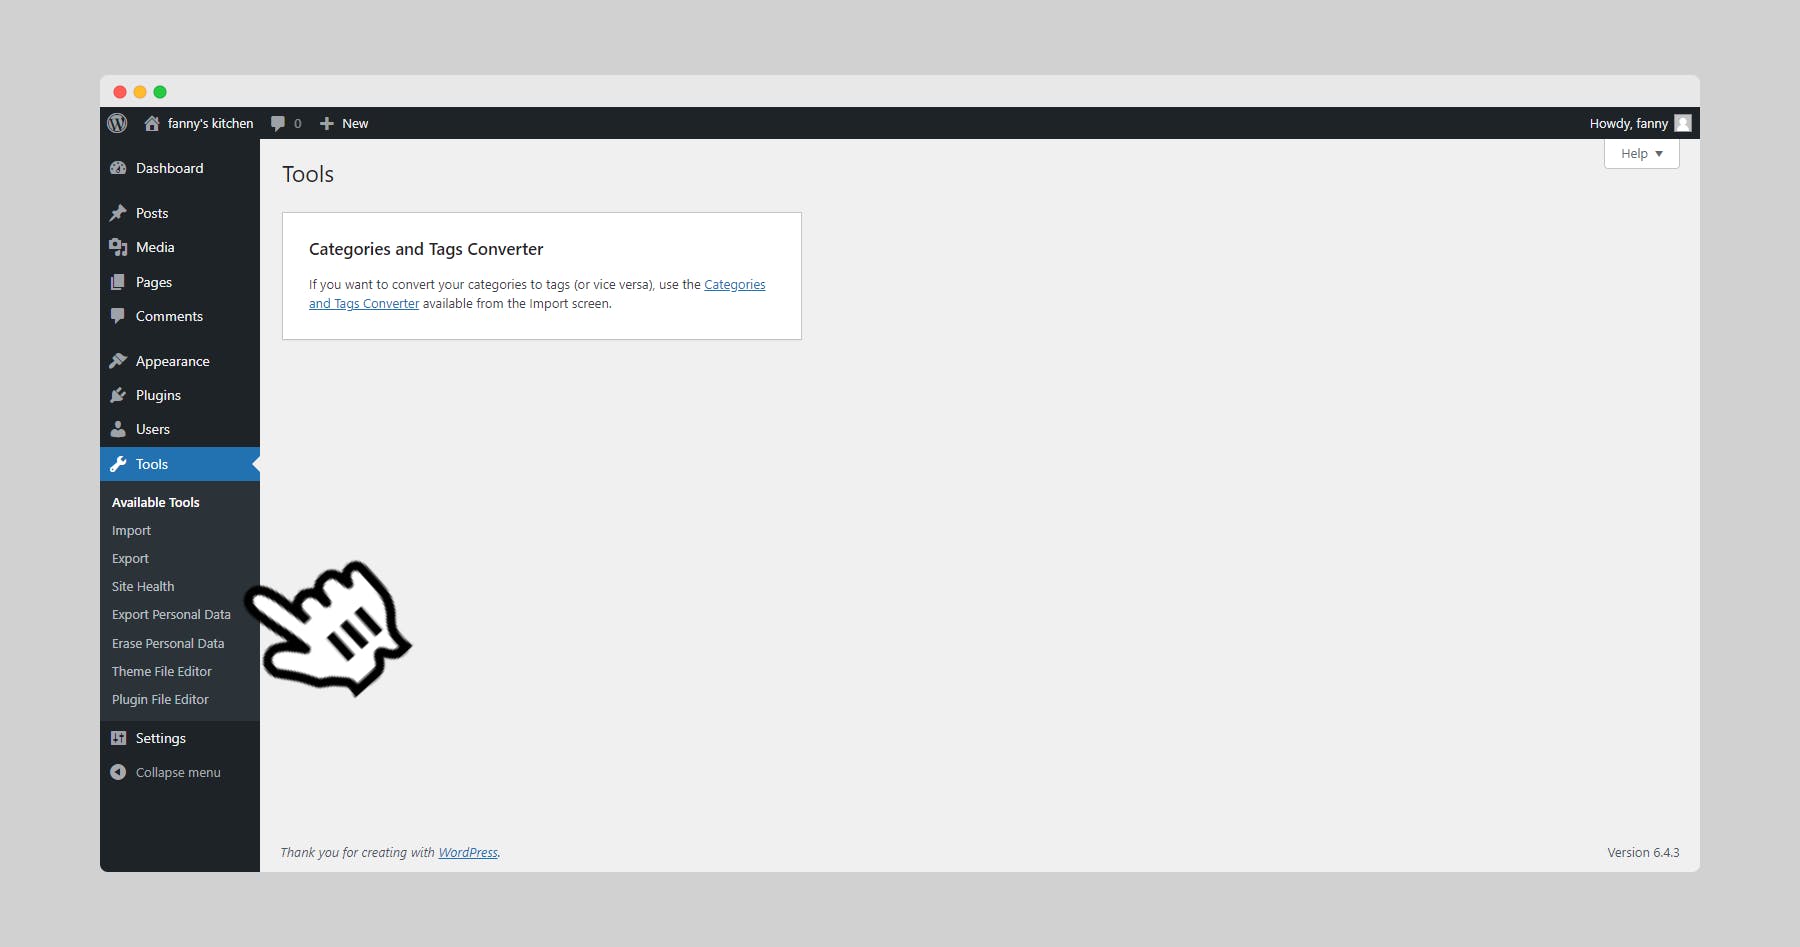
The "Tools" section offers various functionalities for managing your website:
Import
This tool allows you to import content from other platforms like Blogger or another WordPress website.
Export
You can use this tool to export your website's content, including posts, pages, comments, and media. This is useful for creating backups or migrating your website to another platform.
Other Tools
Depending on the plugins you have installed, you might find additional tools available in this section.
Fine-Tuning Your Website: The "Settings" Section
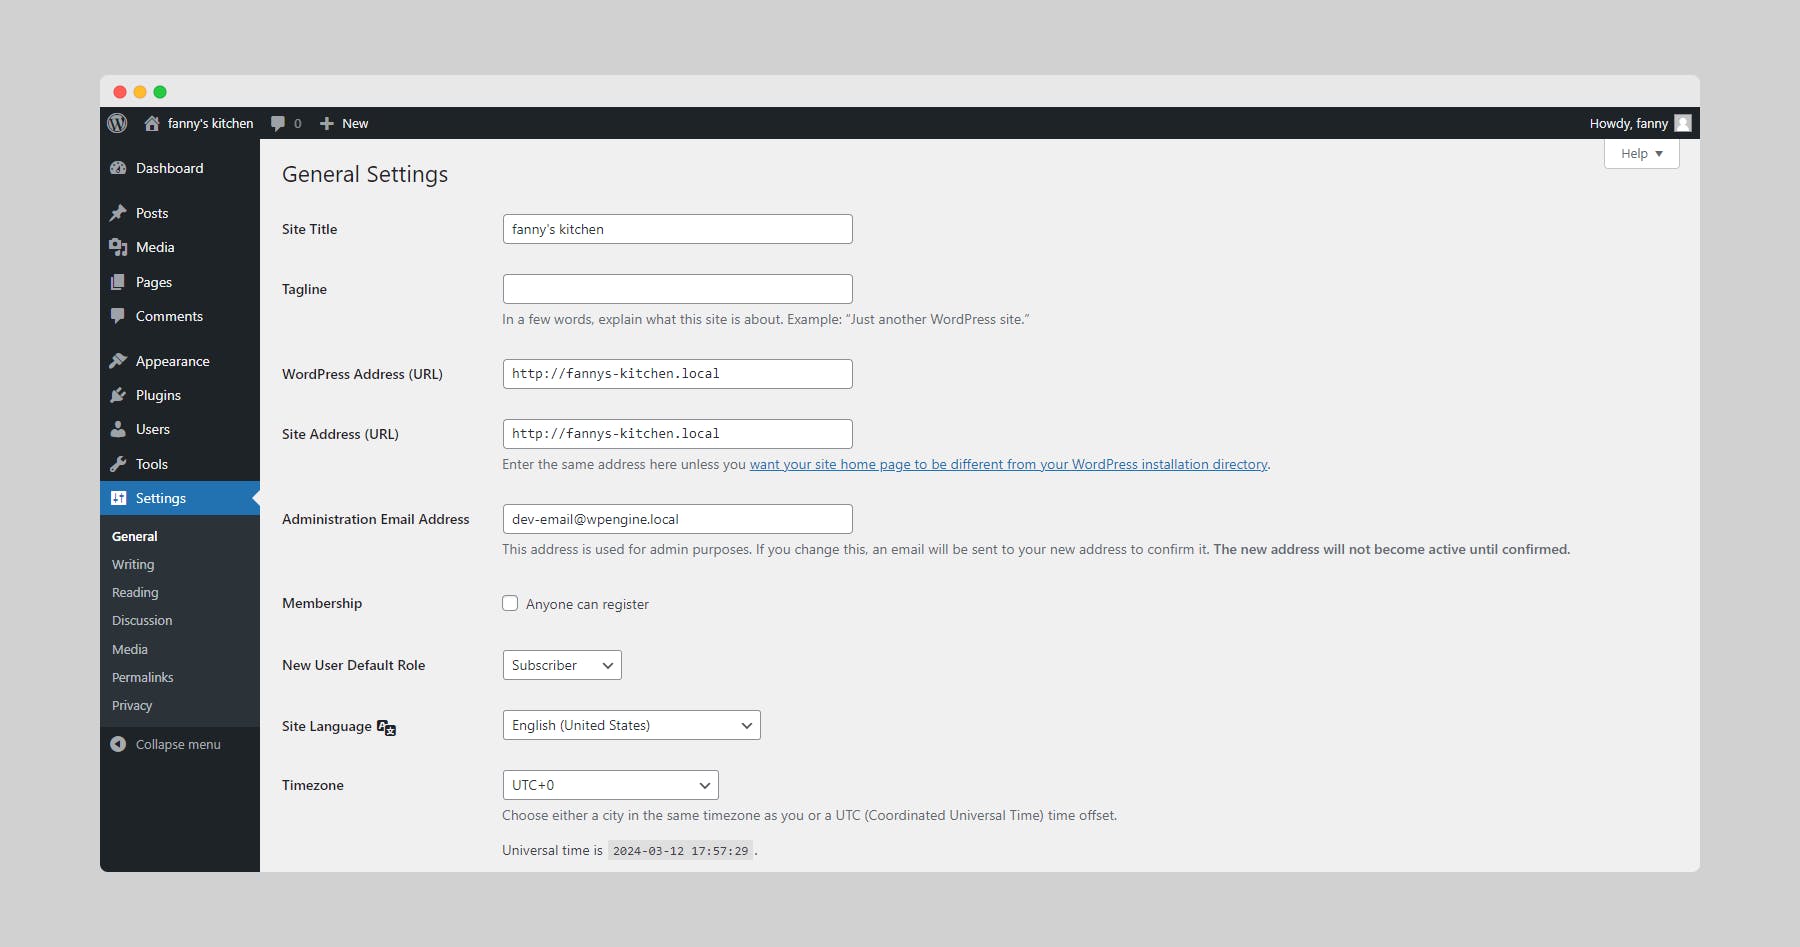
The "Settings" section encompasses various configurations for your website:
General: Here you can set your website's title, tagline, URL structure (permalinks), and date and time settings.
Reading: This section controls how your website displays content, such as the number of posts displayed on the homepage and whether to show a full post or a summary.

Writing: Here you can configure options related to post editing, such as the default post category and the ability to use trackbacks and pingbacks (notification methods for other websites).
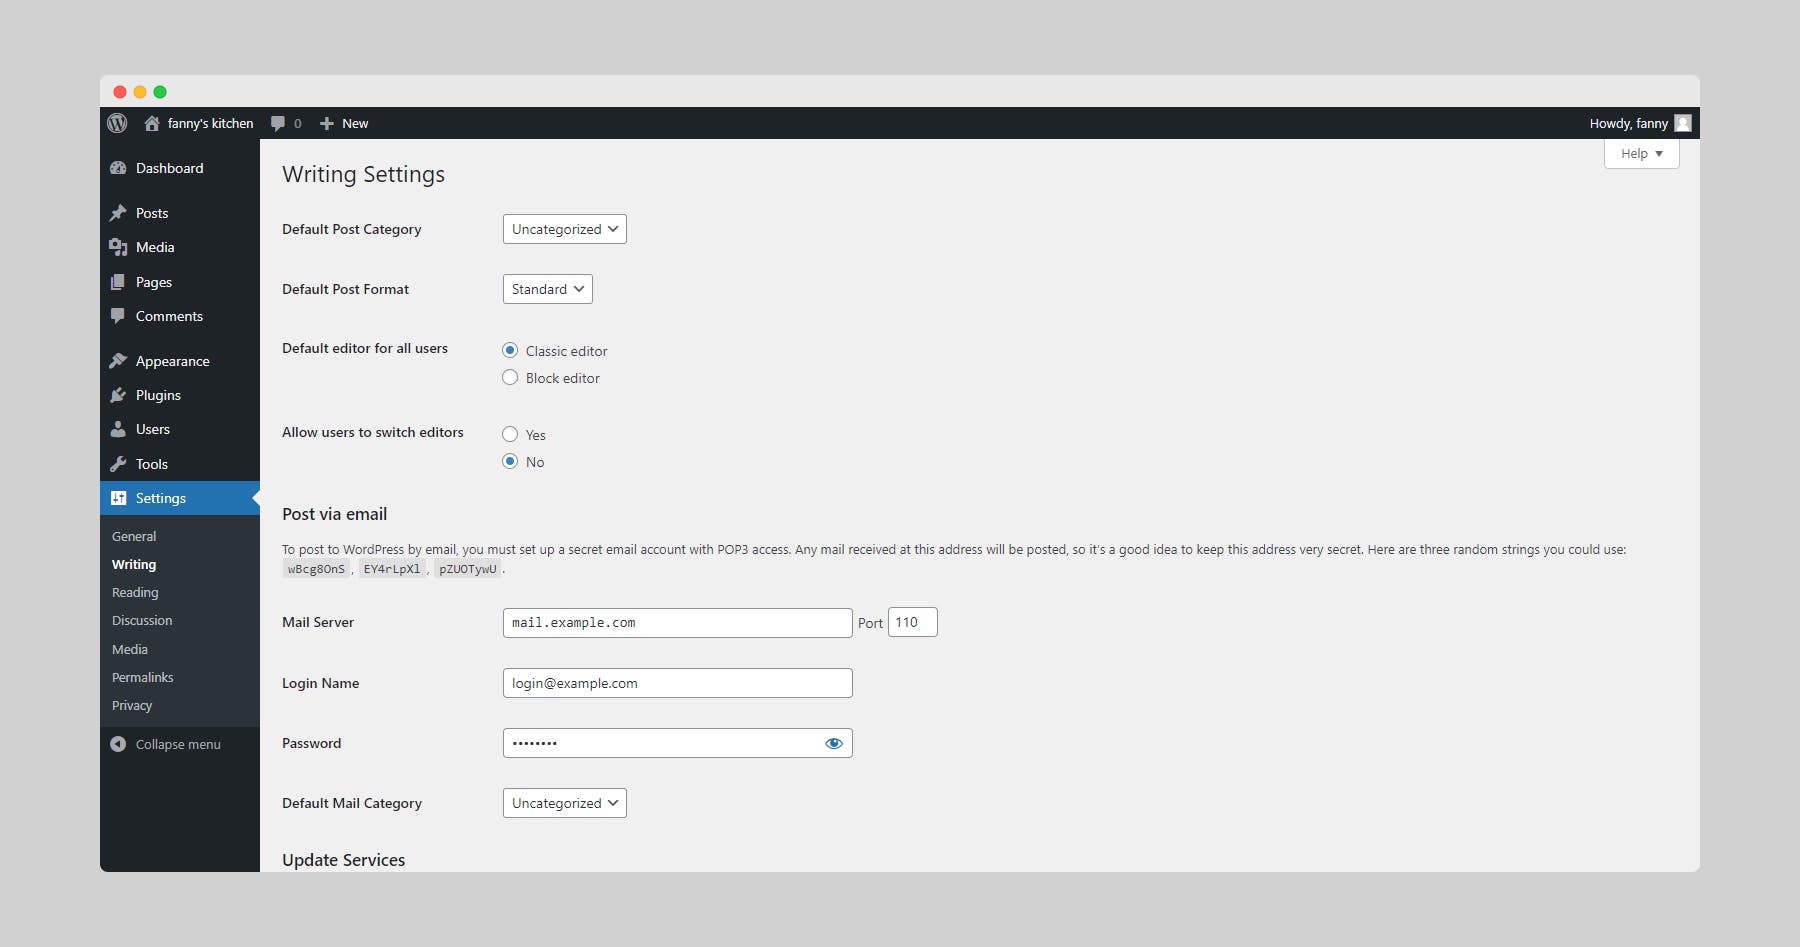
Discussion: This section allows you to manage comments, including enabling or disabling comments, setting comment moderation requirements, and configuring comment display options.

Other Settings: WordPress offers various additional settings depending on the specific needs of your website.
Customizing Your Dashboard Experience
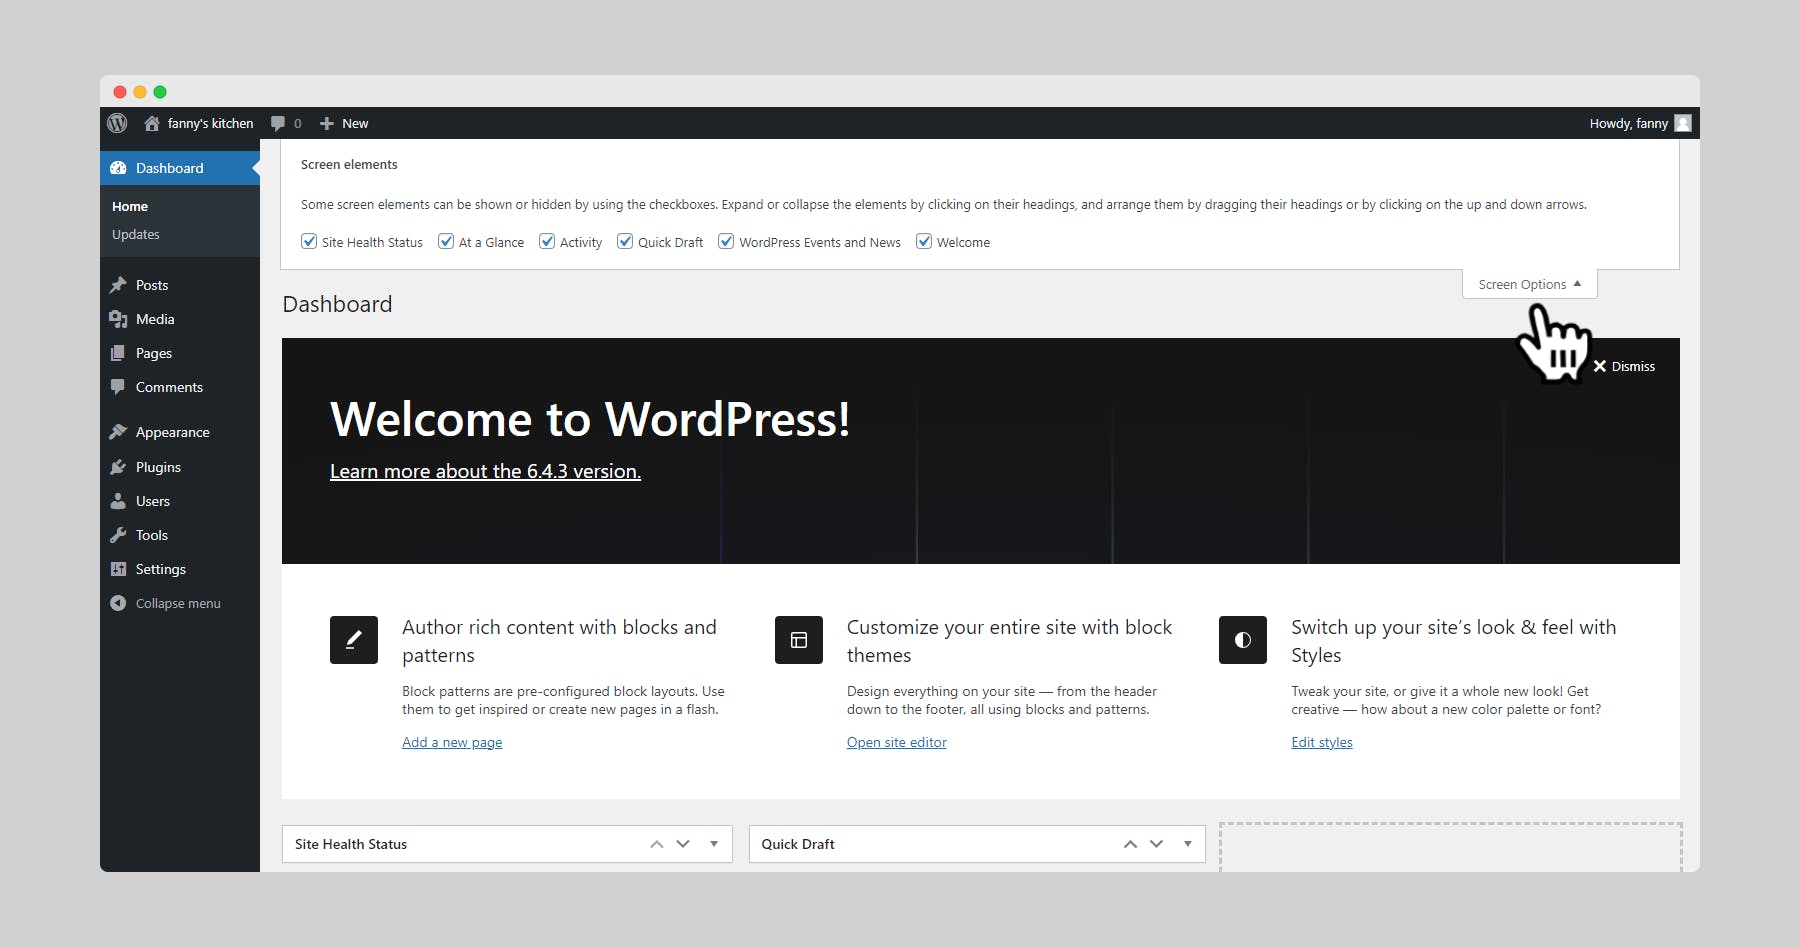
Screen Options: Click on the "Screen Options" tab at the top right corner of most sections within the Dashboard. This allows you to choose which information you want to see on the screen, personalizing your view.
Drag and Drop Functionality: The sidebar menu allows you to drag and drop sections to rearrange them according to your preference.
Learning Resources for Further Exploration:
WordPress Codex:https://codex.wordpress.org/Main_Page - This comprehensive documentation is a valuable resource for learning everything about WordPress, including detailed explanations of functionalities and troubleshooting guides.
WordPress Support Forums:https://wordpress.org/support/plugin/imsupporting/ - The official WordPress support forums provide a platform to connect with other WordPress users and seek help from experienced individuals.
Online Tutorials: Numerous websites and YouTube channels offer beginner-friendly tutorials on various aspects of WordPress management.
